since the previous inspection report said that the trailing arm bushes were perished, I set about changing them.
Using the FAQ quide http://www.firstfives.org/faq/trailing_ ... g_faq.html I got the required parts together and set about removing the trailing arm.
I got 4 boxes of bushes from FCP Euro @ $15 each
Because this sort of as simple thing to do, it naturally led to bracket creep - ie R + R to: sway bar, trailing arm and half shaft boot.
Removing the trailing arm as per the guide was fairly simple and took maybe 45 minutes to remove - the most difficult part being to remove the lower spring from the hand brake assembly to pull apart the assembly and release the hand brake cable ( I left the cables attached to the car) from the back of the hub.
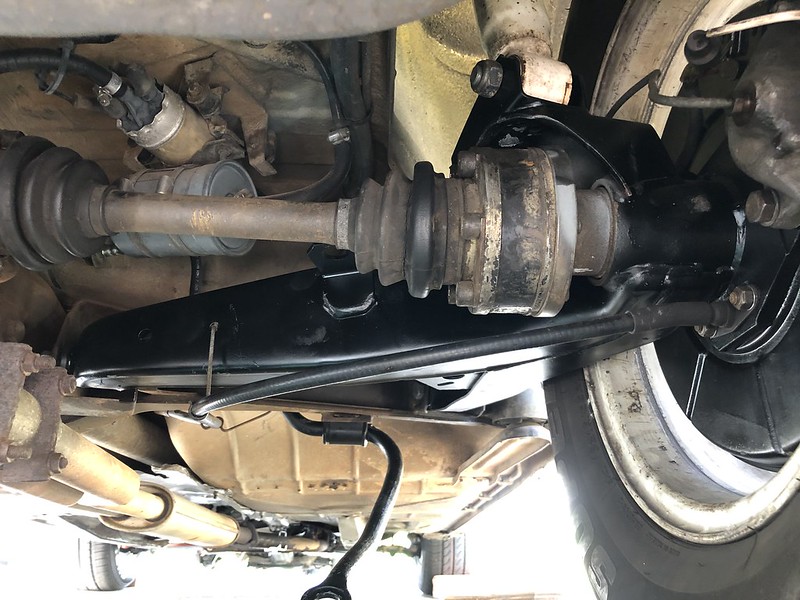
I used an old brake line to direct the dripping black fluid. There was quite a build up of grease and dirt near the inner bush bracket, from the split half shaft boot. I had better fix that up as well.
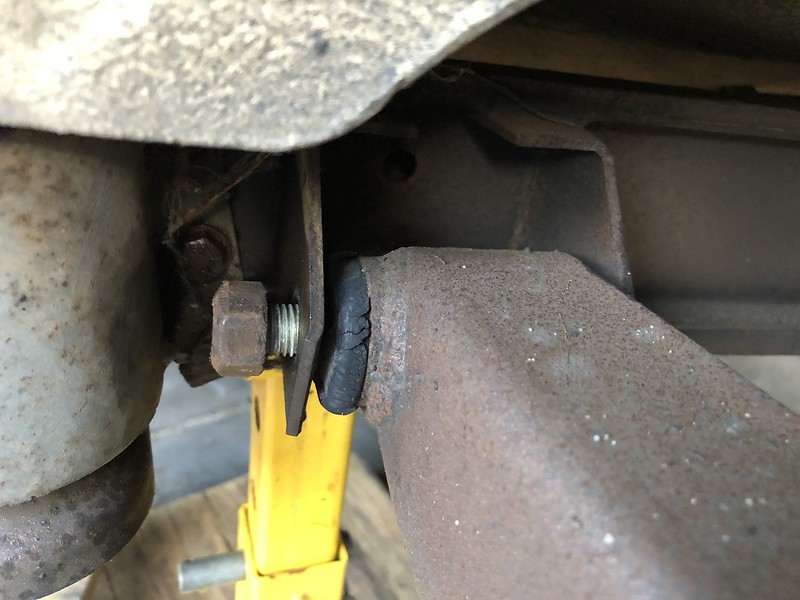
Comparing these old bushes ( 3 x old on left - new on right) , seemed to me to suggest there were still in fairly good condition - except for the outer rib which was perished.

Installing the new bushes was interesting in that the initial flap wanted to bend over and , which tended to make the whole bushing a bit fatter and thus need more force on the ratchet to turn the bolt. I tried fish oil as my first lubricant, which worked part of the way, Dishwashing liquid, worked so much better on the 2nd bush!

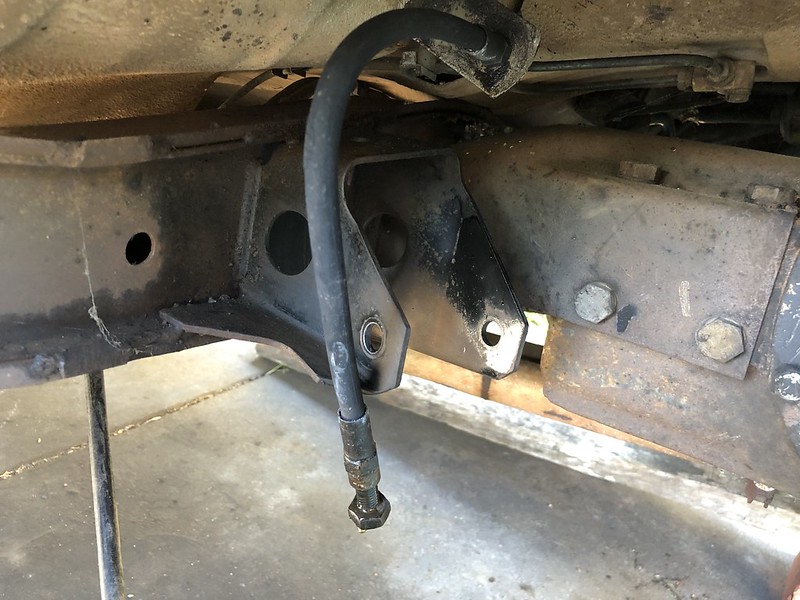
The railing arms was looking rather rusty, so I cleaned it, then sanded it , then treated with rust converter, then sanded it again, then sprayed some cold galv primer, then brush applied epoxy enamel - which I didn't like the finish of , so then sprayed some flat black paint over. All this took 3 days, mostly waiting for the paint to dry - epoxy enamel required min 16 hrs!


Once paint was dry and I had cleaned up the car underbody a bit more, including removing the half (drive) shaft- which had a split boot, I set about reinstalling the trailing arm.
Wasn't too hard, but the bushes created a bit of offset to the brackets, which need some forceful banging to get them in - so took maybe 15- 20 mins of mucking about till I could finally get t 3 bolts back in ( 2 tailing arms bolts and 1 spring strut bolt). I then set about reinstalling the hand brake components (I had cleaned them by then) - that lower spring is a real bugger to get in. then reinstall the brake disk ( removed a couple of times to adjust the hand brake adjuster, until I got enough free play on hand brake - renutted the the hand brake cable at the interior, the reinstalled the caliper , pads and retainer clip , and brake lines, then wheel.
All looks good now.

I've left the sway bar connection off until the other side is done