|
|||
| things you need: - 8mm, 9mm, 10mm, 13mm sockets - straight (screwdriver style) socket wrench - small socket wrench - larger socket wrench (with long extension) - screwdrivers (phillips and flathead) - needle-nose plyers - time - patience
Okay, removing your dash is not something to be taken lightly. The angles you will need to get into and the tight corners you need to fit your fingers in all warrant a lot of patience not to curse bmw for making things so hard to get to. That said, once you know the location of all the hookups and procedure to remove the dash, it's really not all that hard. It will take you plenty of time, and yes, putting it all back together takes just as long, if not longer. You will be removing a whole mess of things and will wonder why in the world you need to, but as you go, you'll realize that the more things you get out of your way, the better. Preparation Not included in the pics section is the removal of your center console (if you want to, you could probably do the job without removing the console, but mine was already out and it may help). You also need to remove both kick panels (the one below the driver's area and also the one squished in next to the glovebox). You will also need to remove the glovebox (included in the pics section). This is necessary so that you can get at the bolts on the right side of the dash. Tips on installing the new dash: Also, once you have all the electronics hooked up (including the ECU), start your car, turn on your lights, blinkers, etc. Make sure everything is working before you complete the rest of the installation (kick panels, etc.). |
|||
| Major connections shown
in white. Secondary or trim connections shown in green. Wires hooked directly to dash or through it are orange. |
|||
 |
|||
| Pictures: Before Steering Column 13mm(x2 - one on either side of steering column) 13mm(x1) inside steering column to drop down whole
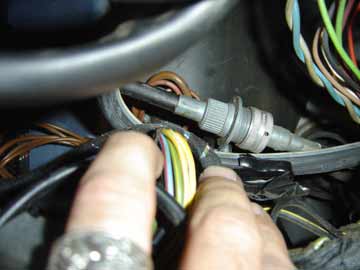
unit Instrument panel Once you get the retaining cable and speedometer cable unhooked, the instrument panel will come out. Be very careful, your panel is fragile. Don't force anything. If it isn't coming out easily, chances are the retaining cable got hooked on a wire. Reach under and guide the cable past the wires while you remove the panel. Retaining cable hookup (turn to release and unhook) Disconnect speedometer cable hookup (hangs down in
amongst the mess of wires) Gently pull out instrument panel (CAREFUL, do not
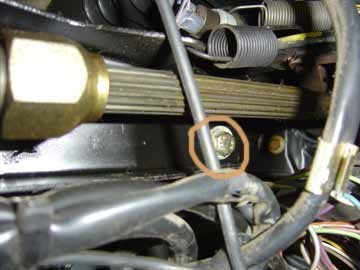
force. See notes above) Disconnect stuff as you go including speedo cable (circled) Major screw locations
Remove glovebox 8mm (x4 holding glovebox arms and x4 along back strip
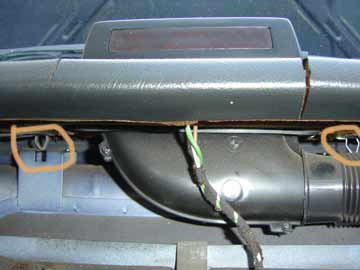
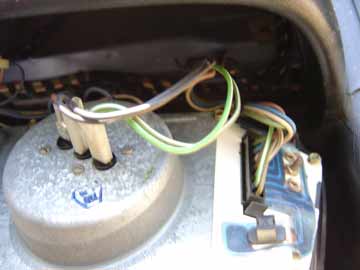
(shown)) Disconnect flashlight charger and remove cable Heater vent connections Center heater vent removal shown later 9mm connecting heater vent (left side) - right side
shown later
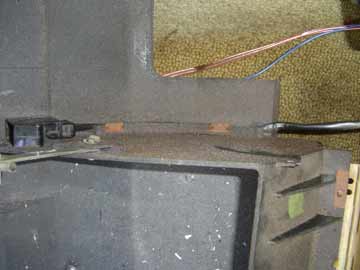
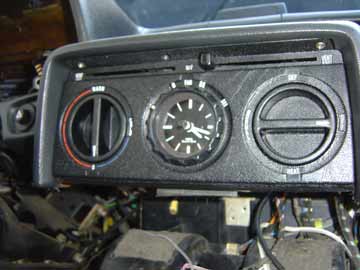
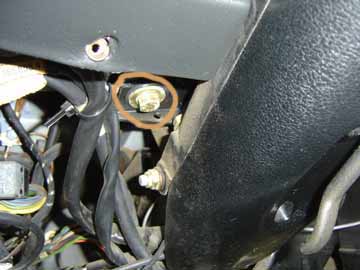
Major bolts (9mm x2) holding dash to frame right side left side Here's the little bugger! Miscellaneous Remove strips disconnect instrument panel lights disconnect center heater vent (retaining clips only) disconnect climate control unit (3x screws) Remove dash Remove the dash SLOWLY. Do not force. I found it helps to tilt the dash a little bit towards you and work on getting the passenger side out first. Make sure that as you remove the dash to keep an eye on all those wires to make sure you didn't forget to disconnect something. Removal yeeha! (god, what a mess..) Installation Installation of the new dash is reverse of removal (ha
ha...)
|


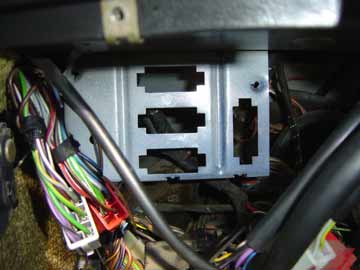
 inside dash
 left side
 right side