Back to Frequently asked questions

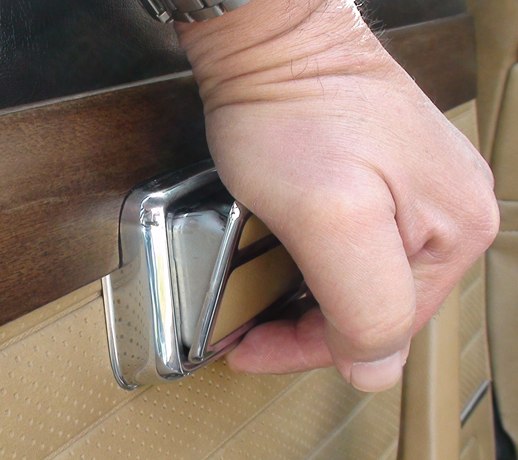
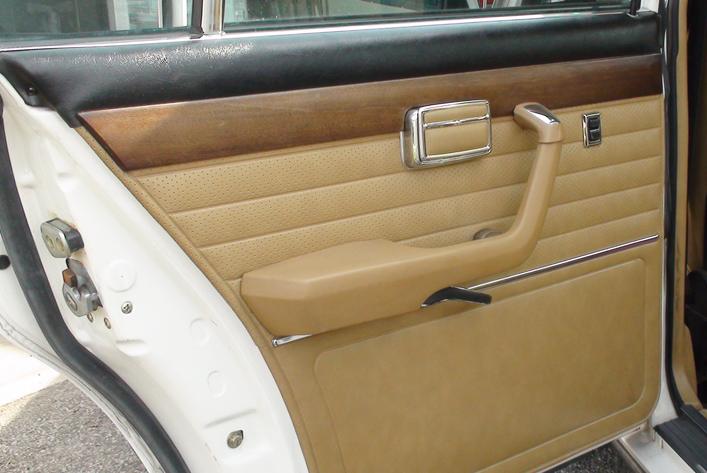
One of the areas of maintainence of the E12 is the motorized door locks. They get bogged down with friction. Hard to pull up (as photo demonstrates) to the point that the motorized door lock actuator becomes inoperative. Most of the time, the problem is not the motor itself, but the linkage and friction of the mechanism. So how do you get into the door to lubricate the problem areas? Read on . . .

TOOLS REQUIRED will be
Ash tray on rear doors; Open and press DOWN.

Ash tray will rotate outward and release.

Remove 2 screws to extract base.

Upper part of door handle is a screw, access from under as shown.

This releases the plastic cover.

Remove the upper screw that goes into the door panel only.

In the middle of the handle, where it bends, there is a screw under the chrome stand off.
Remove the screw.

Under the larger, bulky armrest of the handle, there are two long screws.
These are simple, but I usually have to muscle them out.

On the chrome handle, remove the black plastic cover, then extract the tapered retaining screw.
The handle should pull off the spline easily.
NOTE the large flat plastic washer.

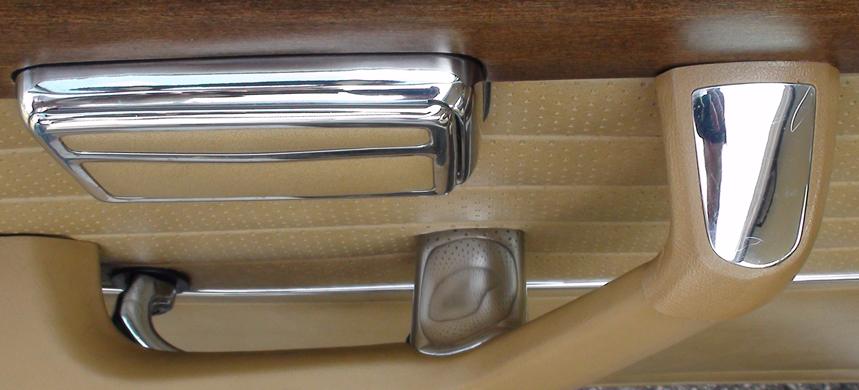
Using the pry bar, work it between the little alum metal frame and the switch bezel.
Be carefull not pry the little frame and damage it.

Work the switch and connector out of the panel opening. Disconnect the switch.
If you have too much trouble getting the connector out, don't worry; just disconnect the switch.
We will be removing the door panel, you can feed it through later.

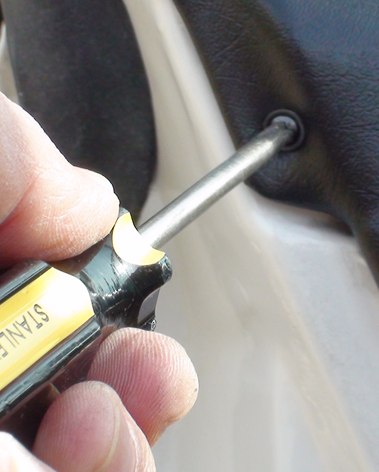
Unscrew the door lock extension button.
The panel won't come off (or on) with this in the way.
Reinstall the button to work the mechanism later.

Upper corners of the panels are two smaller screws. Use No 1 screw driver to remove these.
Note, these screws have small conical plastic washers.

Use the plastic pry bar to start popping the retainers.
Work it in near the retainer, . . . then . . .

Pry and pop out the retainer. This goes pretty fast once you get the feel.

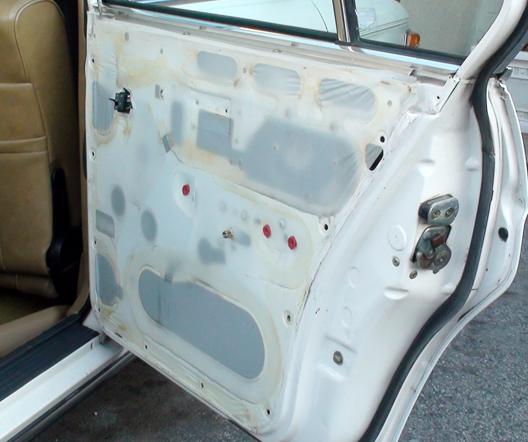
This is the back if the door panel.
If the wood veneer needs refinishing, this is a great opportunity to work it.
Under the plastic strips are a series of metal tabs that are bent down.
Remove the plastic, bend the tabs up and remove the wood trim.
Refinish the veneers (a little project in itself) and install back onto the panel.
The door with plastic covering.

Do not distroy the plastic, carefully peel the cover from the metal door frame.
You only need to uncover the areas over the door lock and latch mechanisms.
These areas will differ a bit depending the door. Get the area beneath the lock button too.

I could not get reasonable photos of the mechanisms within the door, so I'll verbalize.
Work the lock (install the button), door handle (temporarly install), and door latch from
the side of the door. SEE where the mechanisms are acting against each other (turning, sliding, pivoting).
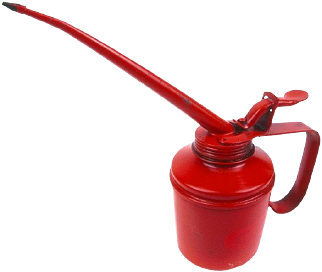
Spray a solvent to wash away the dried grease first, then add a good lubricant in its place.
WD-40, brake cleaning fluid, generic Liquid Wrench or 3-IN-1 oil can act as solvents.
WORK the mechanism, do the door latch, pull the lock button up and down SEVERAL times
until the lock and unlock frees up.
Use a spray-on lubricant like Liquid Wrench white Lithium grease.
It won't run like other fluid lubricants and you can get it in tight spots.
The good Old-Fashioned oil can with 30wt motor oil can work too.

Reassemble the panel to the door.
Before reattaching the other items, take this opportunity and CLEAN them first.
You'll be Happy you did.
Enjoy your power locks -- they WORK again!!
Be ADVISED, this fix works for a few years, maybe more, but eventually it must be done again.
Back to Frequently asked questions
© 2010, FirstFives.org™