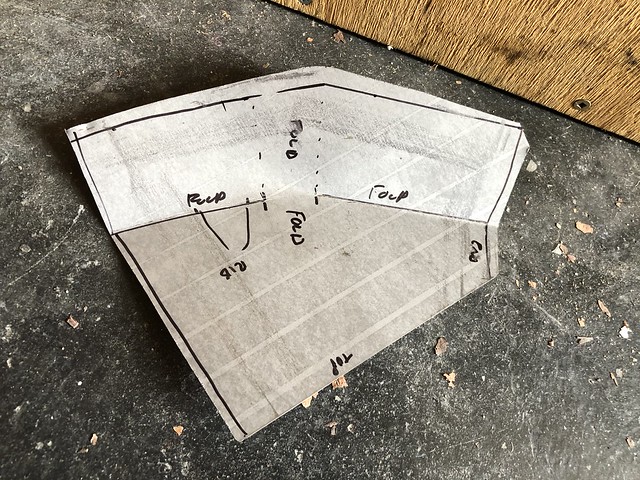
Following this technique, I made up a follower piece form 5mm plate, then clamped the piece to a vice, and bent over the straight section approx 25 degrees, then hammered over the curved section sorta the same with my wood mallet.
I was quite please with this initial bending.
Maybe it was my vise, but the more I then tried to bend the materials, the more the bend started to move off line. I think the follower moved.
Also I noticed that the apex of the fold tended to flatten out which further moved the follower.
Wacking of the the 'tuck' did nothing, but cause my good straight bend to become distorted and create movement else where ( along bend line)

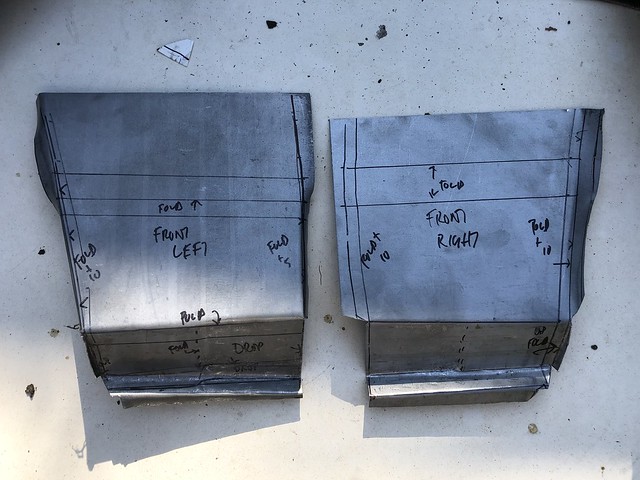
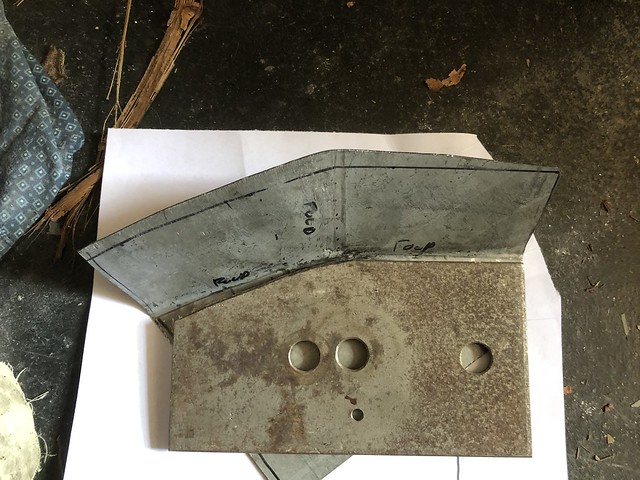
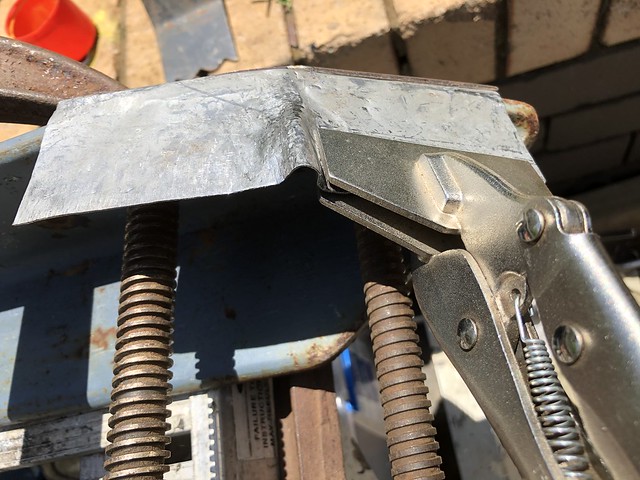
It was suggested to me to clamp the piece between 2 bits of shaped steel, so I shaped the end of a bit of structural angle I have. I then
remarked the line, unfolded the piece a bit then clamped the piece between the pieces of steel, and refolded with a hammer, which has worked much better at maintaining the correct folding line location.

but
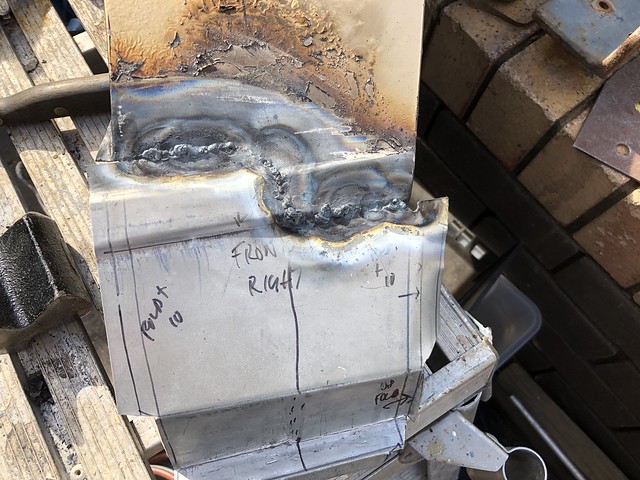
Its created an enormous pucker which I guess needs shrinking.

well, in the absense of knowing what else to do, I just kept hammering away using various sorts of "dollies" to get some shrinking of the pucker ( shrinking, in the absence a fixed edge seems to be more like relocation or displacement).
my 2 hammers and various bits of steel used for dollies - the left end curved dolly was used most as it was fairly close to the required curve - and I could hold it in position, just above the clamp screws shafts

I clamped the flat fold to stop that from deforming - which seemed to work well.
The far left edge wanted to fold over the steel forms, so I measured how much I needed and cut off that excess ( about 10mm) , hoping that would stop the metal from moving over in that direction.
about 20 mintues later, the pucker reduced to almost nothing!!! Wow


It appears that the hammering of the pucker has displaced the metal to the outer edge, such that it now bulges instead of being straight - I guess I just trim the excess off.
Then a bit of little bit of fine tuning and add in the perpendicular ridge/panelline.
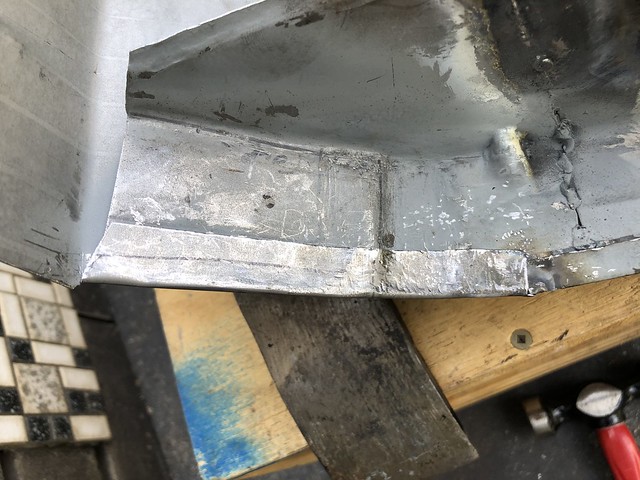
Perpedicular ridge now added, extra fold added to lip as per original

then trim edge to size and
then test fitted to show how it matches - yippee pretty good - for a novice!

To get teh reinforcing rib, as per the original and as per the suggestions on Metalmeet forum, I cut a small notch in a piece of angle,

clamped the piece then using the end of the hammer, knocked the notch in - thank fully the piece did not deform

and was able to test fit in place.
notch is not as big as the original - but ought to be okay I suppose.

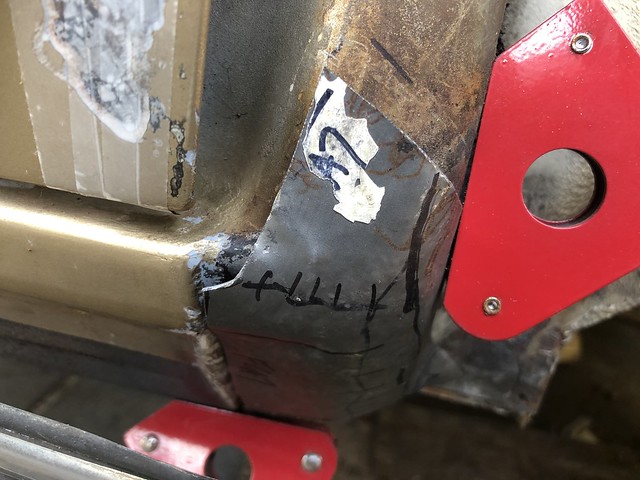
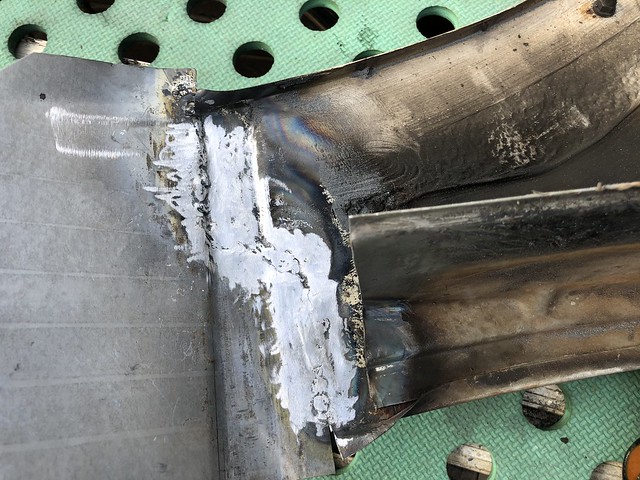
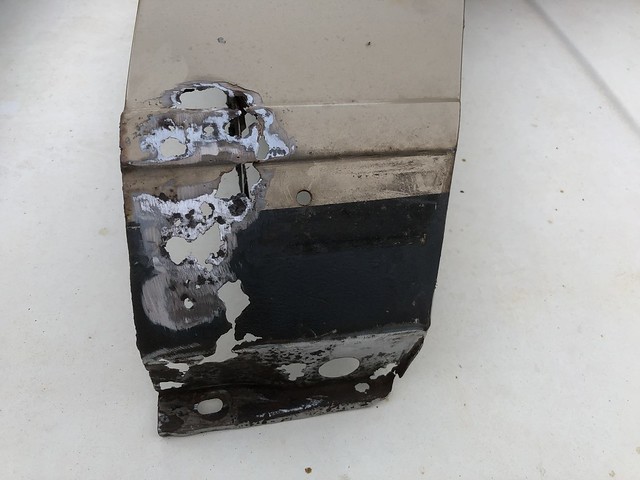
You can see in this last photo that I have welded in the fender patch panel.
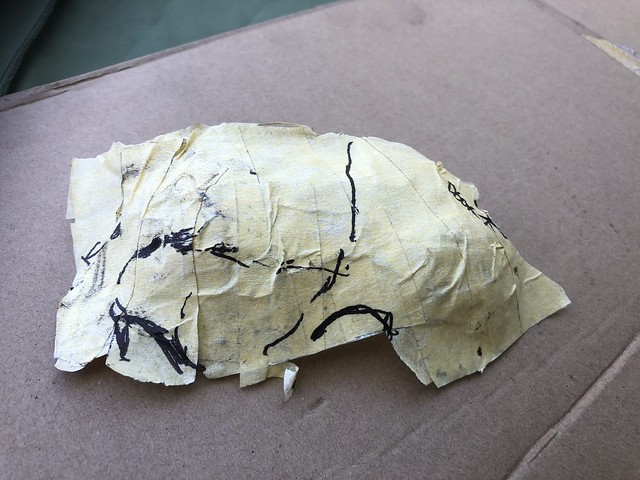
before cutting any of the fender, I made some profiles - inside and outside lines. I think I heard peter tommassini say somewhere - "always make profiles"

Using that as a guide, I trimmed the rib then welded that in place -
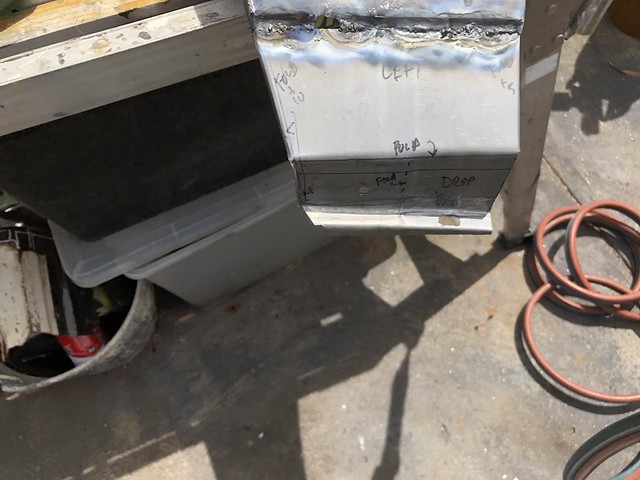
I have a Henrob/cobra 2000 torch , I used the tip no 1 ( 1-3.0mm) yesterday and think it was too big. so I swapped to no 0.5 ( ) which book says is for upto 1.5mm
Any way weld is much better and heat area is much smaller - A bit of planishing after the tacks kept the join reasonably flush.
I still blew a few holes, which I filled with bit of cut off.

I think the original panel is thinner than my patch panel, as it tended with liquifiy much quicker.
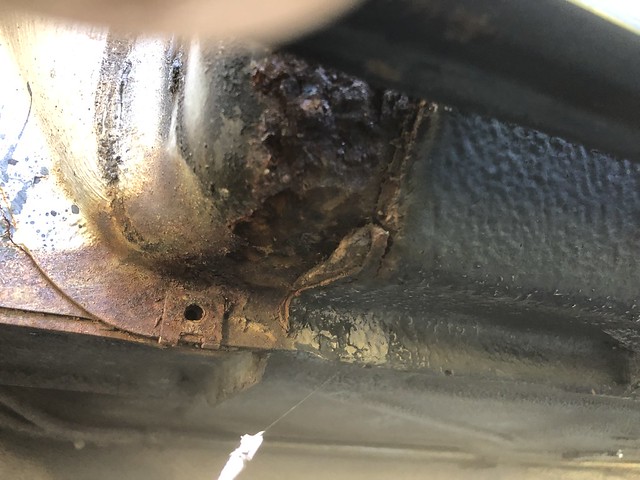
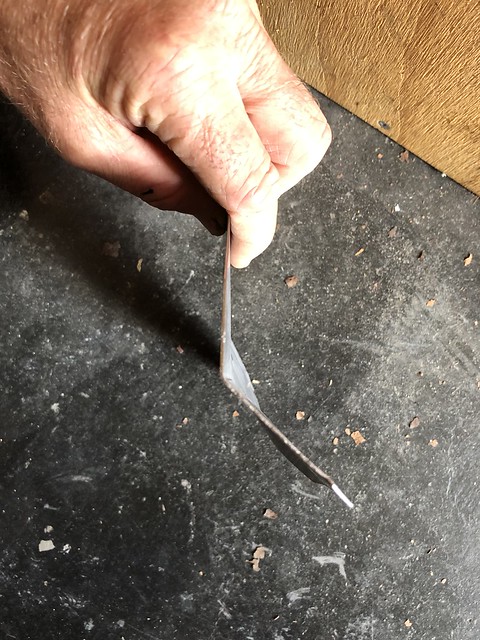
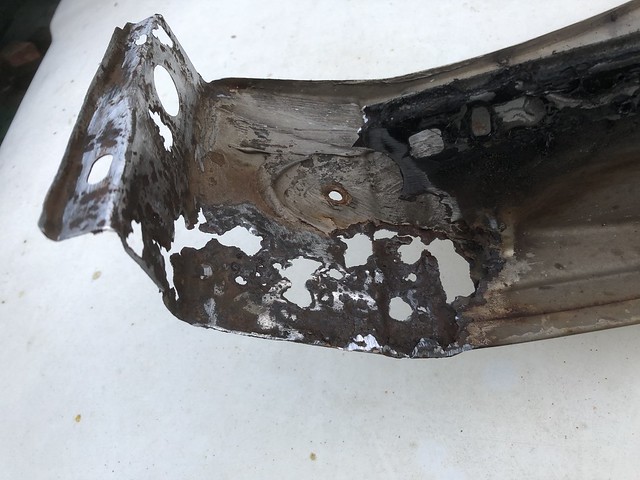
Where the rib touched the fender, I put a stainless steel knife underneath, hoping that the weld would not go through - which seemed to have worked.
I also sprayed a bit of zinc primer under neath as wont be able to get to it later.

anyway, I hope this will okay.
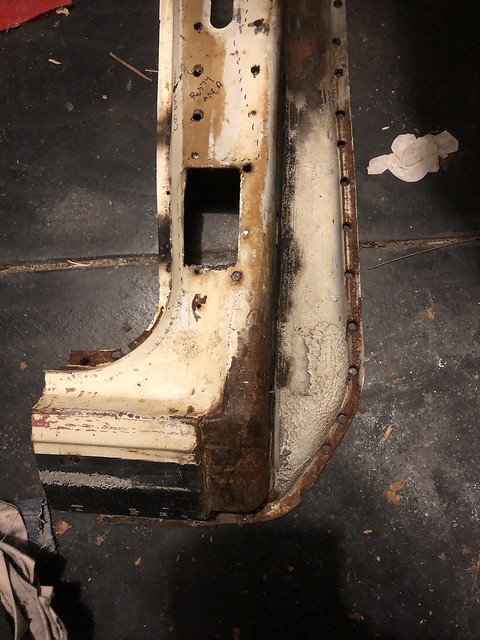
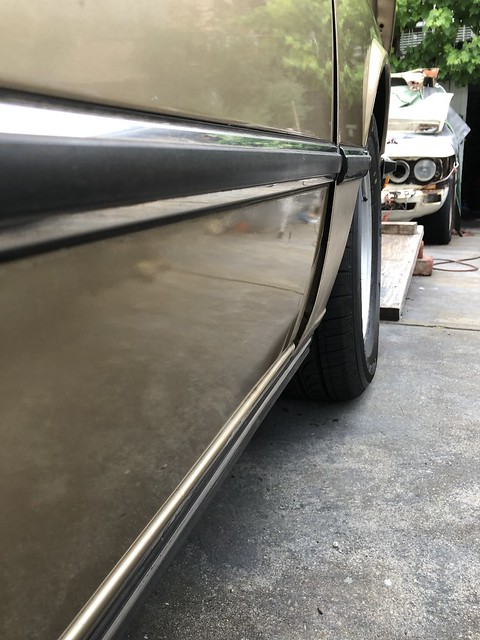
Putting up the inner guide suggested that I've got this reasonably spot on.


 [/url]